Tips & Tricks
Recommendations for a beautiful printing result
Want to print double-sided? First, check your printer’s manual to see if it supports automatic double-sided printing (duplex printing). If so, simply follow your printer’s instructions. But don’t worry: Even if your printer doesn’t have automatic duplex printing, you can still print double-sided – by manually turning the paper after the first print run.
How it Works: Manual Turning
There are two possible methods, depending on the type of your printer. It’s best to try out which one works for your printer beforehand.
Tip: Make sure to insert the paper as straight as possible. Especially with cheaper printers, the feed can shift slightly. It’s worth taking a close look!
A few more important notes:
- Our digital files for double-sided printing are designed so that small deviations in paper feeding are not a problem. We use bleed when necessary, and crop marks for cutting are usually only on the front side.
- When printing, check your print settings: Make sure you have selected ‘actual size‘ or ‘100%‘. Only then will the dimensions of your templates be correct.
- Choose the right paper: Paper that’s too thin will show the colors from the back side. For double-sided printing, we recommend paper with a weight of 32–35 lb (120–130 g/m²). For papers with high opacity (i.e., low transparency), you can also use thinner paper.
Typically, you will receive print files from us in the RGB color mode. If you receive files from us in CMYK color mode, they will always be clearly labeled as such.
CMYK is mainly used in offset printing and for online printers in the classic print sector. For home printing, RGB is usually the better choice:
- Inkjet printers usually work with an RGB profile.
- For laser printers, it depends on the model. Please check your printer’s manual to find out which color mode your device requires.
Convert JPEG file from RGB to CMYK
If you need to convert your print files in JPEG format from RGB to CMYK, you can easily do this online. Search the internet for: ‘jpeg RGB to CMYK‘. Or follow this link: Free RGB Converter
Convert
PDF from
RGB to CMYKIf you want to convert
PDF files, search the internet for: ‘PDF RGB to CMYK’. Or follow this link:
Free PDF Converter
Common CMYK color profiles:
- Standard Europe – ISO Coated v2 ECI
- Standard US – US Web Coated SWOP v2
- Natural Papers Europe – PSO Uncoated ISO12647
- Natural papers US – US Web Uncoated v2
- Yellow natural papers – ISO Uncoated Yellowish
Important: When converting from RGB to CMYK, there may be color deviations. Download the new file and open it together with the original file on your computer to directly compare the colors. Browser previews or preview files often do not accurately represent the actual result. One more note: The colors on your monitor are not color-binding and may differ from the printed result.
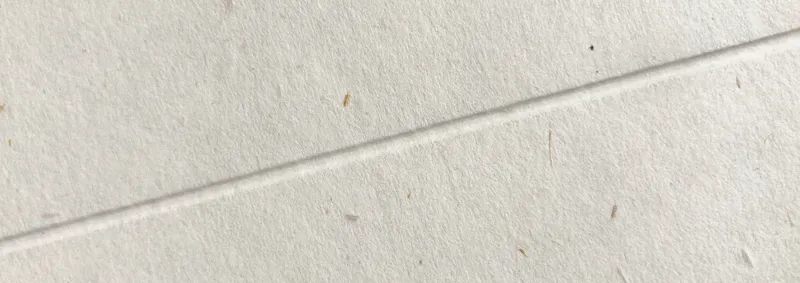
To ensure it folds cleanly and neatly. If you simply fold paper, it can become messy: the edge tears, the paper warps, it looks ‘frayed’. By scoring, you first create a targeted, smooth line (a ‘score line’) along which the paper can be folded nicely and in a controlled manner.
For thin paper, this is often not necessary. But from a paper weight of 135 g/m², you should score. The heavier the paper, the deeper the score should be. The score has a big impact on the final result: A clean score ensures a high-quality look – almost like a professional.
Tip: Let the cards rest for a while after printing before folding them. This allows the paper to absorb some moisture from the air and become more flexible. This reduces the risk of the fold breaking.
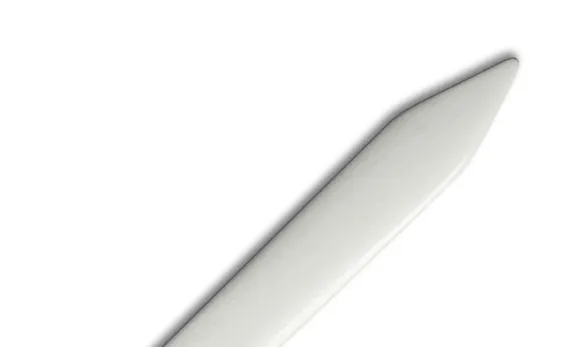
What Do You Use for Scoring?
- A scoring bone (small tool, usually made of plastic or bone)
- Alternatively: blunt side of a knife (back of a normal cutlery knife)
- Special scoring boards are also available in the craft section
What Do You Need for Scoring?
- Underlay – Why? So you don’t damage the paper edge when pressing:
- Not a hard tabletop!
- Better:
- Scoring bone (or substitute) – Important: The tool must be smooth, clean & not sharp → otherwise you’ll scratch the paper:
- Optimal: A scoring bone (available in craft stores).
- Substitute, if you don’t have one:
- Back of a normal cutlery knife (NOT the blade!)
- Empty ballpoint pen refill
- Ruler:
- Stable non-slip (metal rulers are great).
- Serves as a guide for a straight score line.
And What’s Next?
- Place paper on the soft underlay.
- Position the ruler along the desired score line.
- Use the bone folder (or your substitute) to draw a groove along the ruler.
- You’re lightly ‘scoring’ the paper without cutting it.
- Now you can perfectly fold the paper along this line.
- Result: Clean, smooth fold – nothing tears, nothing looks odd.
You can do a lot with scissors, but cutting perfectly straight is often difficult. It’s much easier and more precise with a utility knife and a ruler. Here’s a step-by-step guide on how to do it:
- Place your paper on a cutting mat.
This protects your table and keeps the knife sharp longer. - Align the ruler with the existing cutting mark.
Make sure the ruler is exactly on the mark and doesn’t slip. - Guide the utility knife along the ruler.
Place the knife at one end of the mark and carefully pull it along the ruler with light pressure. - Cut multiple times if necessary.
Instead of cutting through with a lot of force once, it’s better to go over the same spot multiple times with light pressure. This makes the cut cleaner. - Observe finger protection!
Always make sure your fingers are not in the cutting line. Hold the ruler firmly with enough distance from the blade. - Use non-slip rulers.
Rulers with a non-slip rubber coating on the bottom are ideal. This prevents the ruler from slipping while cutting. - Hold the utility knife correctly.
Hold the knife securely, with the blade slightly tilted, and always cut away from your body. - Change the blade regularly.
A dull blade is more dangerous than a sharp one because it’s more likely to slip.


